Blend
Modes
Open an image, here I’m using a high
contrast back and white portrait of British recording artist Sophie Ellis
Bextor
 |
| (image c/o Galleryhip) |
Place a new image on another layer. Copy
and paste or File>Place…
I am using a textured Union Jack flag
 |
| (image c/o http://wall.alphacoders.com/big.php?i=218461) |
Resize the image, if you want to constraint
the proportions hold the shift key. Hit return or the tick button to commit to
the changes.
Ensure you have selected the top layer.
Just above the layers is the Blending Mode options drop down list, it is
default set to normal.
This set of blend modes adjust the selected layer to
allow parts of the image to become transparent or to allow certain areas to be
blended with the layer below.
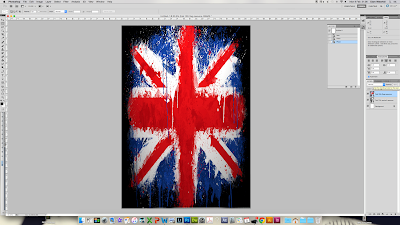 |
| Texture scaled to fit |
There are a number of different blend
options. This is Darken.
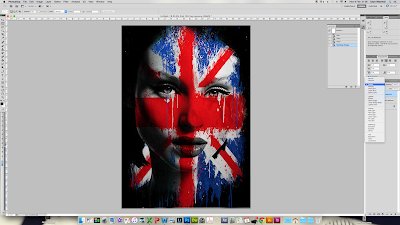 |
| Blend Mode: Darken |
This is Screen
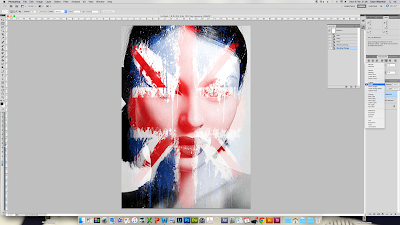 |
| Blend Mode: Screen |
This is Divide
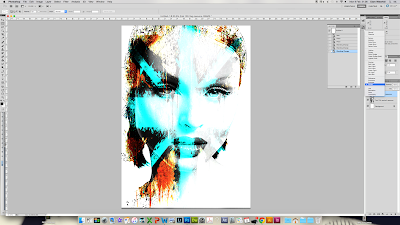 |
| Blend Mode: Divide |
Lets see what happens when we switch the
layers and apply this divide blend mode to the portraits. So firstly, move the
portrait to become the top layer.
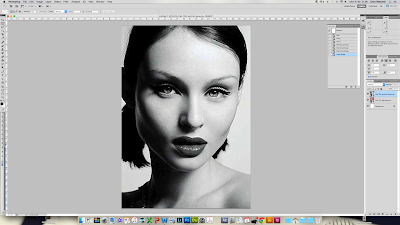 |
| Move: Portrait to Top |
Delete our blank background layer.
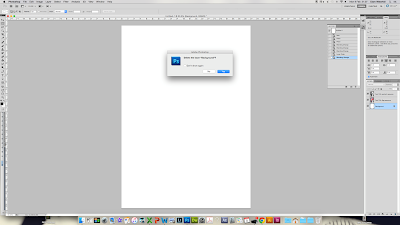 |
| Delete: Background Layer |
Apply the Divide blend to the portrait
(top) layer. Notice the different effect it produces.
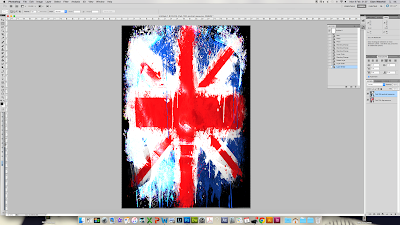 |
| Blend Mode: Divide, Portrait on top layer |
Now, play with the blend modes. Save four
different versions and compare. Ensure you note down what layers were used and
what blend modes were applied!
Fab explanation of what/how the blend modes
do: http://photoblogstop.com/photoshop/photoshop-blend-modes-explained


No comments:
Post a Comment