Wednesday 17 February 2016

Introduction to SketchUp

SketchUp 3D model of my front room... I am planning new storage!

I worked with SketchUp a wee bit during my degree, we did a 3D graphics module (see my attempts here).

3D graphics is rather complex and in that we were doing a little dip into the topic we were introduced to the novice friendly software formerly c/o Google so apologies if I keep referring to it as Google SketchUp (it's now owned by Trimble).

You can download a free version for educational purposes here: http://www.sketchup.com/download

Now, I say this is novice friendly, but it is also used professionally and to great effect here are some picture examples.

© Diego Guerra
c/o SketchUp.com


© Sunil Pant


So here is a little introduction to the software, very basics to get you started.


Wednesday 10 February 2016

Photoshop Blending Modes


A simple technique that can produce some interesting results. I'm demonstrating this to my Level 2 group this afternoon.

Blend Modes


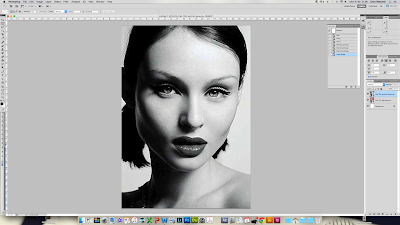
Open an image, here I’m using a high contrast back and white portrait of British recording artist Sophie Ellis Bextor 

(image c/o Galleryhip)
Place a new image on another layer. Copy and paste or File>Place…

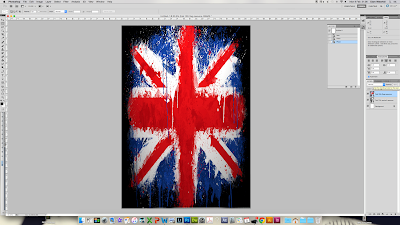
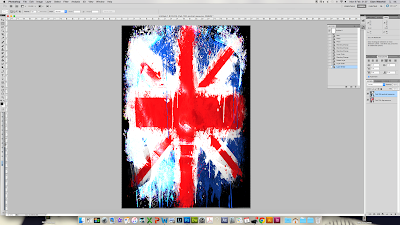
I am using a textured Union Jack flag 

(image c/o http://wall.alphacoders.com/big.php?i=218461)

Resize the image, if you want to constraint the proportions hold the shift key. Hit return or the tick button to commit to the changes.

Ensure you have selected the top layer.

Just above the layers is the Blending Mode options drop down list, it is default set to normal. 

This set of blend modes adjust the selected layer to allow parts of the image to become transparent or to allow certain areas to be blended with the layer below.

Texture scaled to fit


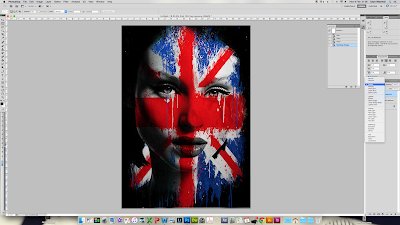
There are a number of different blend options. This is Darken.

Blend Mode: Darken
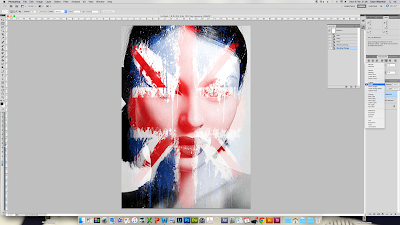
This is Screen

Blend Mode: Screen
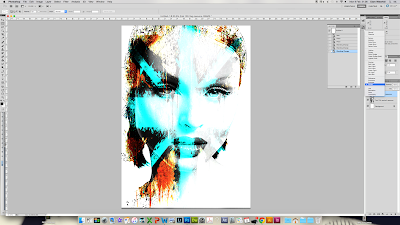
This is Divide

Blend Mode: Divide

Lets see what happens when we switch the layers and apply this divide blend mode to the portraits. So firstly, move the portrait to become the top layer.

Move: Portrait to Top

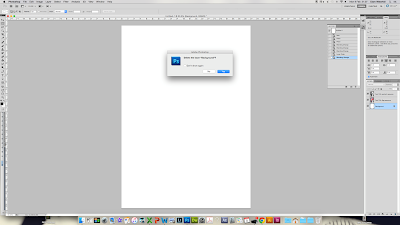
Delete our blank background layer.

Delete: Background Layer
Apply the Divide blend to the portrait (top) layer. Notice the different effect it produces.


Blend Mode: Divide, Portrait on top layer

Now, play with the blend modes. Save four different versions and compare. Ensure you note down what layers were used and what blend modes were applied!

Fab explanation of what/how the blend modes do: http://photoblogstop.com/photoshop/photoshop-blend-modes-explained